


Learn what your annual deck touch-up includes and how NHV Painters' 7-year free warranty keeps Milford & New Haven County decks looking new year after year.

Learn the average epoxy garage floor cost in Milford and New Haven County, CT. Compare pricing factors, coating options, and installation costs to plan your project with confidence.

Storm damage in Connecticut? NHV Painters handles drywall repair, interior and exterior repainting, and insurance-claim painting work with a 7-year touch-up warranty.
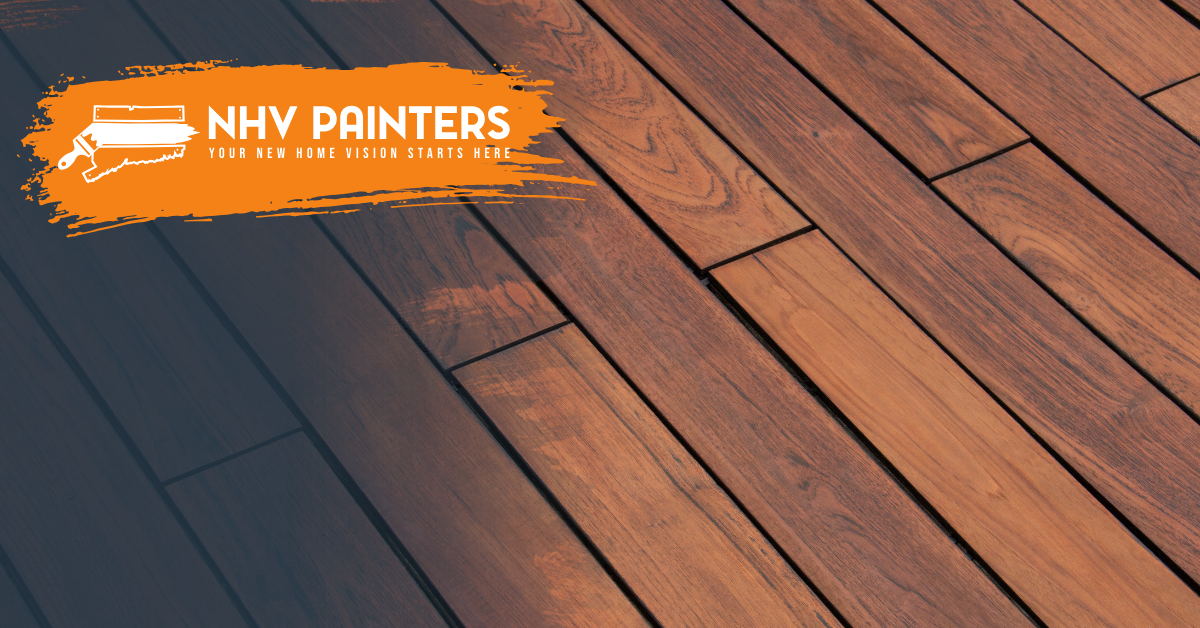
What does deck refinishing cost in Milford & New Haven, CT? NHV Painters breaks down stain vs. paint pricing, peeling deck repair, and what affects your quote.

How often should you re-stain your home's exterior in CT? NHV Painters explains staining timelines for siding, shingles & wood, plus signs it's time and what affects it.

Wondering what kitchen cabinet painting costs in Connecticut? NHV Painters breaks down price ranges, what affects the cost, and why refinishing beats replacement.

Closing on a home in CT? Here's why painting before you move in saves time and money—plus a timeline from NHV Painters to get it done before the furniture arrives.

Wondering what it costs to paint a condo in Connecticut? NHV Painters breaks down the factors that affect price, what's included, and how to get an exact quote.
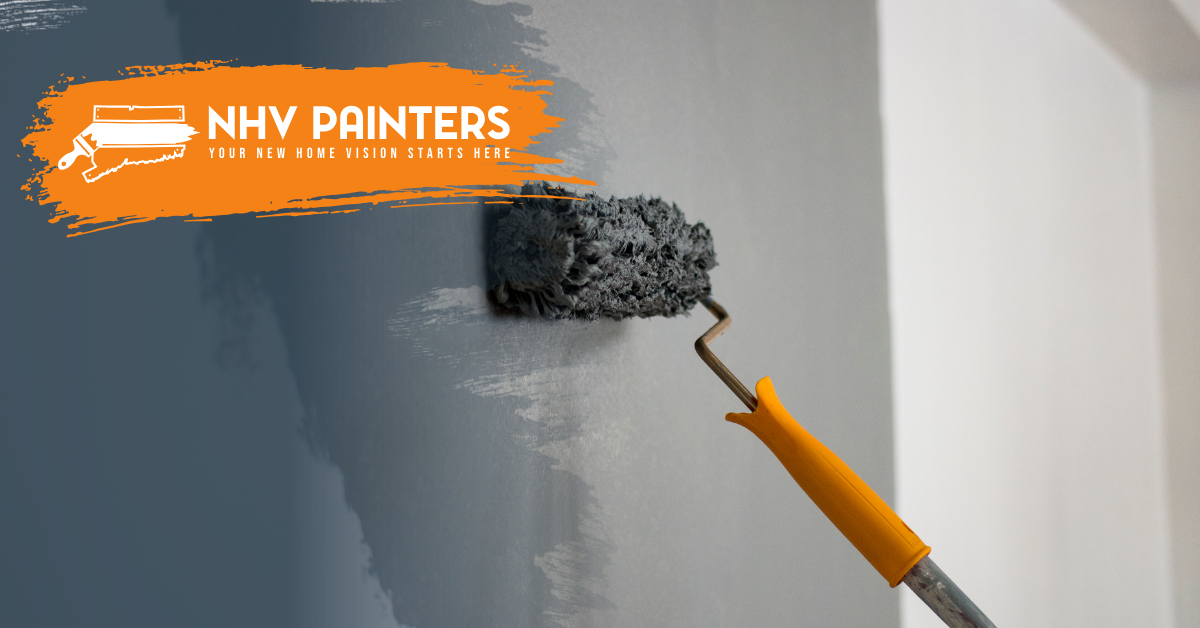
Is a painting estimate a sales pitch? NHV Painters explains exactly what happens during your free in-home consultation in CT—no pressure, just honest answers.

Should you paint or stain your deck in CT? NHV Painters explains the difference, costs, timing, and how our team protects your deck for years to come.


