Your foyer may not necessarily be one of the bigger interior spaces in your home, but that doesn't mean that you should just neglect it when it comes to making spaces in your home look nicer.
Indeed, and you really just have to look at a seemingly simple painting project to get it improved though it's well worth making the time to learn about some of the ways that you can do a better job painting your foyer.
With that being the case, let's have a good look at some foyer painting tricks to learn for when you want to have a nicely painted foyer.
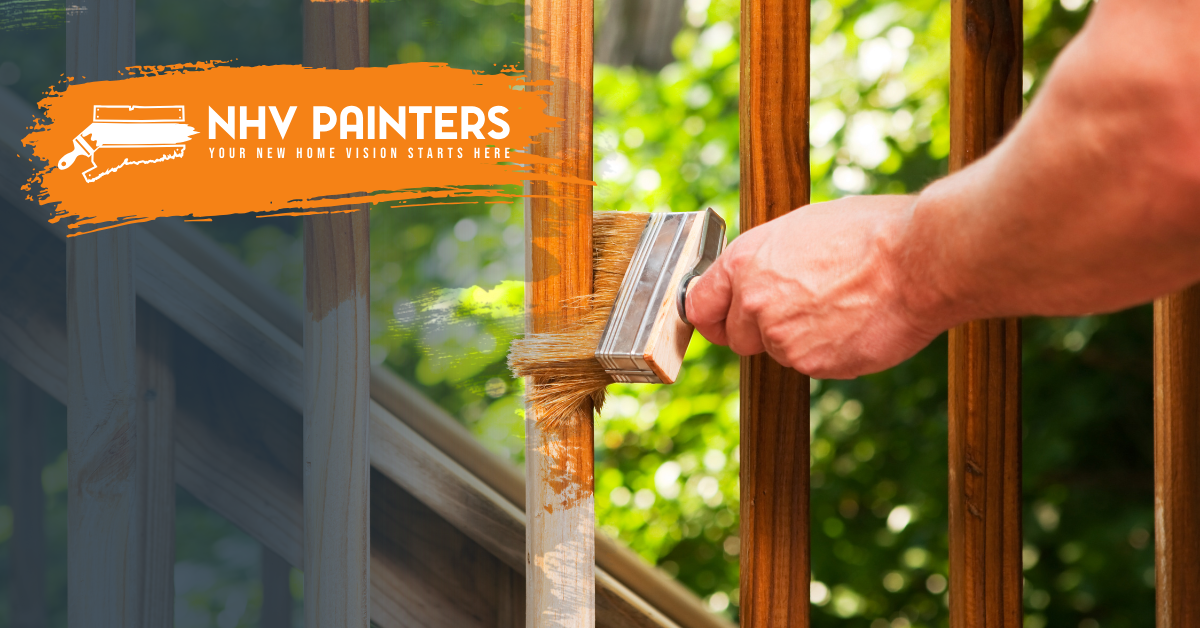
1. Use the right kind of paint
One of the things you're going to want to be sure you do when you're looking to paint your foyer is to use a good kind of paint for that kind of painting project.
Though you may be wondering if we are referring to interior versus exterior paint -- no, that is not the case but of course you will want to use interior paint for this painting project and that should be made clear up front.
However, what you will also want to know is that you should be sure that you use a paint that may be easier to clean such as a glossier or semi-gloss paint, because when you are going in and out of the house as one does through a foyer you tend to get the surfaces of the walls a bit dirty and to be able to clean it you cannot start with flat paint.
2. Clean After Sanding
Some people may be aware of the fact that you should sand the surfaces that you are going to be painting, but to do so gently so that you are going to be able to prepare the walls for the primer and paint that will follow.
What they may not alway realize is that after you gently sand the surfaces to be painted, you are going to end up with some sanding dust that has to be properly removed from those very same surfaces before applying primer or paint.
To not do so is to almost ensure that you are going to have not only a messy painting project but possibly see that sanding dust on the surfaces that you are painting.
What's more, the process of cleaning the sanding dust after you have finished sanding is relatively short compared to how much time you'd have to spend cleaning up if you did not do so right away.
3. Let Surfaces Dry
When you clean the surfaces that will be painted or even when you have applied primer or paint, you will find that the surfaces then need to be allowed to fully dry before you go onto the next step in the painting process.
If you do not do this, you are going to very explicitly find yourself dealing with painting problems -- to name one, applying paint when your primer coat has not fully dried will lead to things such as bubbling on the surface of the paint or even an alligator like surface.
If you want to avoid these kinds of rather unfortunate problems that have no real fix other than to scrape the paint off of the wall and to start anew, you are going to want to be sure that you allow time for your surfaces to fully dry before going onto the next step in the process.
The good news is that you will have these time periods set during your project so that you can take breaks during your painting project.
At NHV Painters, we offer affordable, reliable, and durable painting services in New Haven, Branford, Milford, Orange, North Haven, West Haven, East Haven, and the surrounding areas for CT.
Book a FREE estimate below to get started or call us at (203) 606-2346 to talk about your project.